One of the great features of the Rev. B RaspberryPi is the built-in Ethernet connection, which opens up many possibilities for web-connected projects. This enables this small device to be able to operate as a web server, ideal for running custom web applications. Since the RaspberryPi can also be connected to a host of other sensors and devices through the GPIO ports, this opens up the possibility of creating web-controlled devices.
Choosing a Web Framework
Since Python is the main programming language for controlling the RaspberryPi, I thought that the ideal web server for the device is a Python-based web framework. This means that the code for controlling the RaspberryPi's GPIO could be integrated right into the code for the web server.There are a number of Python web frameworks available - so that run some heavy-weight Internet websites. However, the ideal solution is a web framework that is:
- Easy to install
- Quick to learn
- Simple to write
- Fast and lightweight
Installing Flask on the RaspberryPi
Installing Flask on the RaspberryPi is really straightforward: sudo apt-get install python-pip
sudo pip install Flask
Hello World Web App
Once you have Flask installed, then you'll be itching to write your first "Hello World!" web app. Just find a suitable location on your RaspberryPi to store your code (I like to use a 'Sites' directory in the home folder and create a sub-directory for each project e.g. ~/Sites/hello), and a hello.py file as follows: from flask import Flask
app = Flask(__name__)
@app.route("/")
def hello():
return "Hello World!"
if __name__ == "__main__":
app.run('0.0.0.0')
If you've checked out the Flask website, you'll recognise this code as their starting example, with one difference: the addition of '0.0.0.0'. This makes sure that the web server is going to listen on all network devices, so you can browse to the web site from anywhere on your local network.
To start the web server just run:
 $ python hello.py
  * Running on http://0.0.0.0:5000/
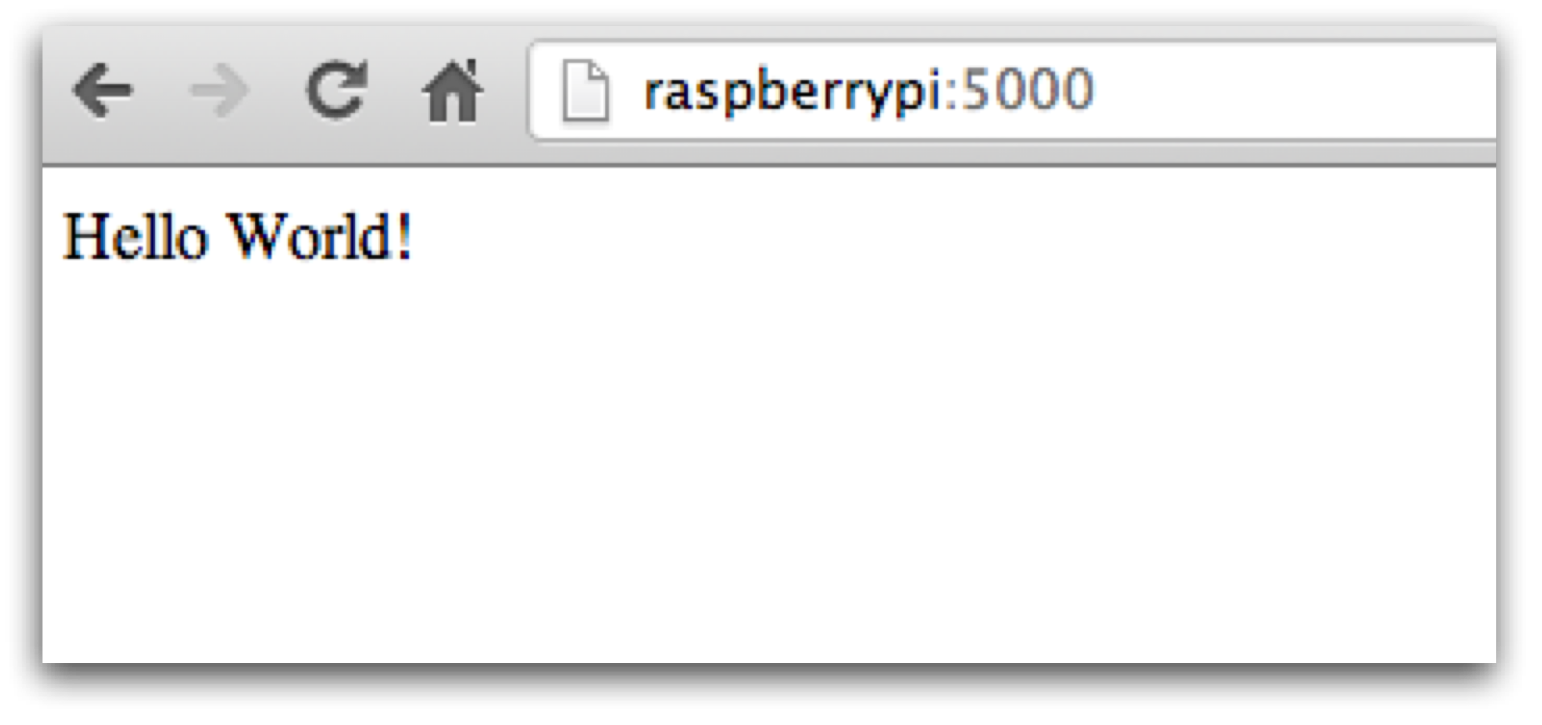
This will start the built-in web server and it will be listening for web requests on port 5000. You can browse to your web site from any computer, tablet or smart phone that is on your local network by navigating to http://the-ip-address-of-your-pi:5000/ e.g. http://192.168.1.105:5000/. There you will be greeted by your glorious, welcoming message.
Adding a Templated Web Page
Generating HTML from Python code quickly becomes unmanageable, so the recommended approach is to use a templating engine. The Flask install includes the Jinja2 templating engine which makes it quick and easy to develop web applications. Flask is configured to look for templates in a directory called templates. So create a folder structure like this: /hello
hello.py
/templates
hello.html
So, let's create the hello.html template:
 <!DOCTYPE HTML>
 <html>
 <header>
   <title>Welcome!</title>
 </header>
 <body>
   <h1>Hello from the RaspberryPi</h1>
 </body>
 </html>
And now change hello.py to use the template. This is done using render_template:
 from flask import Flask
 from flask import render_template

 app = Flask(__name__)

 @app.route('/')
 def hello(name=None):
   return render_template('hello.html')

 if __name__ == "__main__":
   app.run('0.0.0.0')
Restart the web server by running python hello.py and visit the RaspberryPi web page to see your new templated, web application.

That's it! You now have the basis for developing web applications that run on the RaspberryPi, written in Python. For more information on Flask, I recommend working through the tutorials on the Flask website. Once you have a better grasp of working with Flask, you'll be ready to add Python code that controls your RaspberryPi directly from your web application. Stay tuned for the next lesson.
Thank you for this tutorial. After a lot of time trying to find something simple to grasp the basics of Flask, I arrived here.
ReplyDeleteNow I can continue to play with my RPi!
Thanks for share James
ReplyDeleteThank you for this tutorial.
ReplyDeleteceneo